
Home Backup Hyper-V Server How to Backup VM Hosts
Quick Start Guide for Hyper-V Backups
 |
Download Buy |
This short "How-to" quick start guide provides a short walkthrough of all the steps required to set up a successful backup for Hyper-V VMs.
Prerequisites
In order to create a VHDX backup, you need to first download and install the 64-bit version of BackupChain, which also installs on Hyper-V and Windows Core Servers via the command line, see notes on download page.
Task Configuration
While there are plenty of options to fine-tune your backups, we'll only go through the steps absolute necessary to complete a successful disaster recovery in this article.
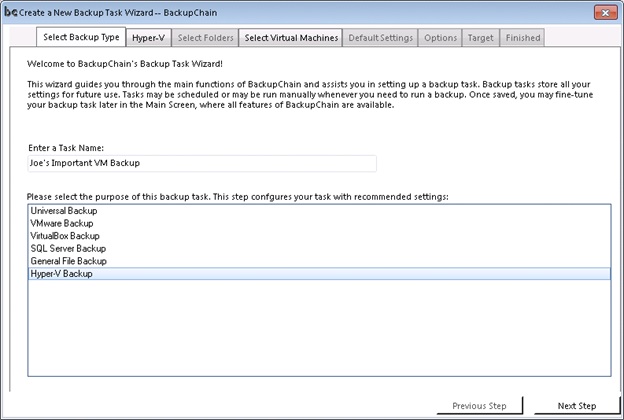
Step #1: Select Task Type
The first step is to select the task type correctly as shown below. Note that you get the same GUI even on core servers:
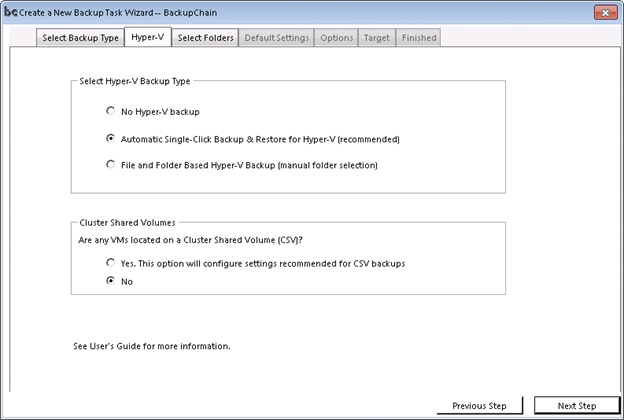
Step #2: Select Automatic Protection
Now we accept the recommended automatic settings. If a CSV is being used, you need to select it now:
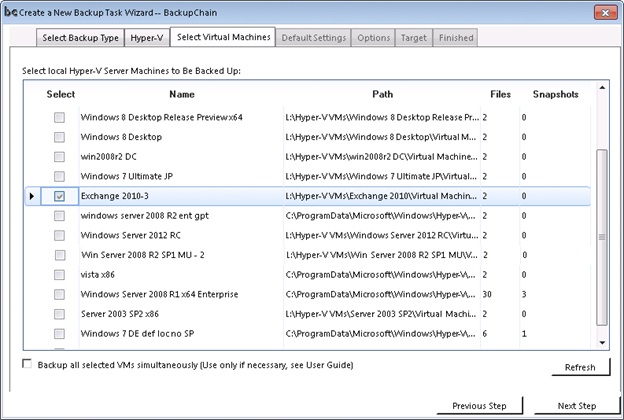
Step #3: Virtual Machine Selection
Now we select the VMs from the list. Note that on CSVs you'll only see the ones hosted on the local node.
Step #4: Select Target Location
Finally we select a target. This can be any local folder, a network folder, or an FTP/FTPS site:
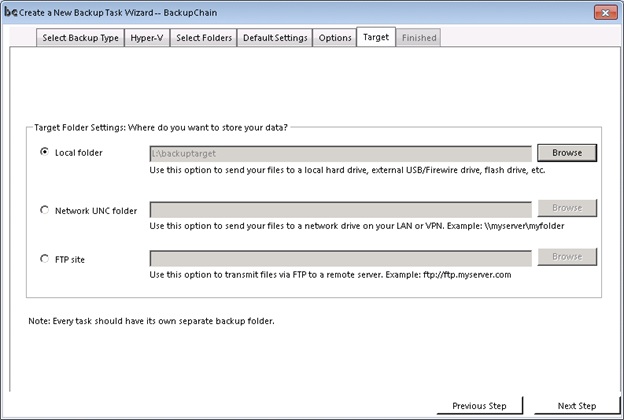
Note that with all types of targets BackupChain uses file-level deduplication to reduce backup space and processing time, even when using FTP.
Feel free to contact BackupChain Support with your questions, comments, and suggestions.