
How to Restore Virtual Machines using BackupChain
Restoring a virtual machine is a straightforward process. You can either restore the files directly or use the automatic feature to restore your virtual machines.
For Hyper-V backups you have two choices: Create a file-based backup by selecting the virtual machine folders, or use the Single-Click Backup & Restore feature of BackupChain.
For VMware, VirtualBox and other virtualization platforms proceed to Option #2 below.
We discuss these options below:
Option #1: Automated Hyper-V Single Click Backup & Restore
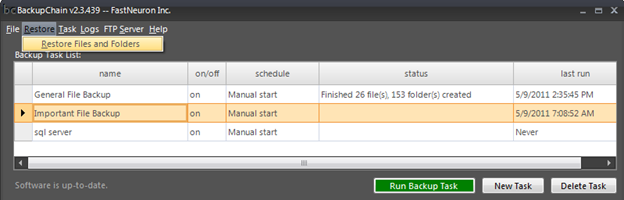
First, select the Restore Screen from the main menu:
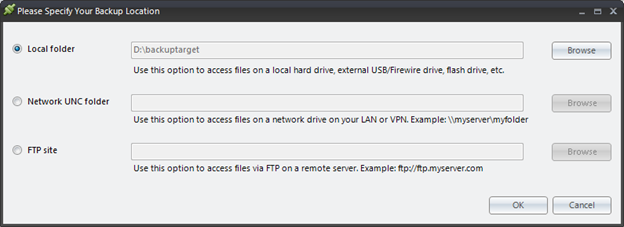
Important: Now you need to select the root folder of your backup, that is the folder you selected when you created the backup:
For your information, the root folder of your backup contains configuration files and may look like this:
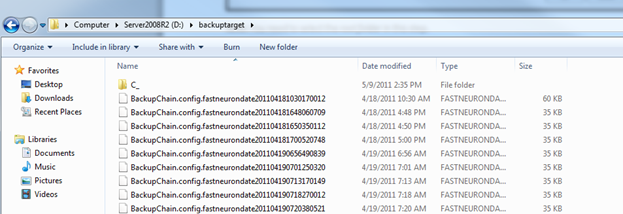
Note: you do not need to select these files; BackupChain will open them automatically. Simply select the folder (in our example D:\backuptarget) and proceed.
Now select the month, day, and virtual machine you want to restore. In this example, we want to restore "vista x86" backed up on May 7th:
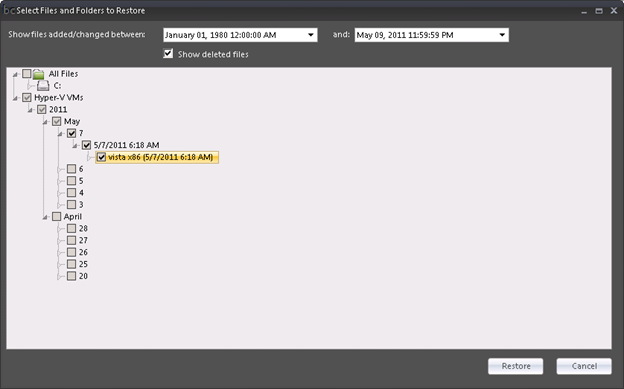
Now click Restore. The Extraction Options screen opens (below we show advanced settings):
I f you want to restore the VM to its original location, check the box "Restore files to their original location" in Miscellaneous Settings.
Otherwise simply enter a target folder. It's recommended to restore to a new folder, especially for temporary restores.
Note: The last section "Hyper-V Settings" allows you to clone virtual machine identities. This effectively allows you to restore a virtual machine back to the same host while running the original VM. If you uncheck this setting, make sure the original VM is no longer in the host system.
Starting the Virtual Machine
The restored machine should automatically
appear in the Server Manager’s Hyper-V role screen. If it
doesn’t, try pressing F5 to refresh the list or right click on
the Hyper-V Manager and stop the management service. This
doesn’t affect running virtual machines and you can start again
as soon as it stops.
Once the new machine appears you may want
to review and update the virtual machine network connection
settings before you start it.
Option #2: File-Based Restore of Hyper-V, VMware, VirtualBox, etc.
To restore a file-based backup, navigate the folder structure and click on the folder containing the virtual machine:
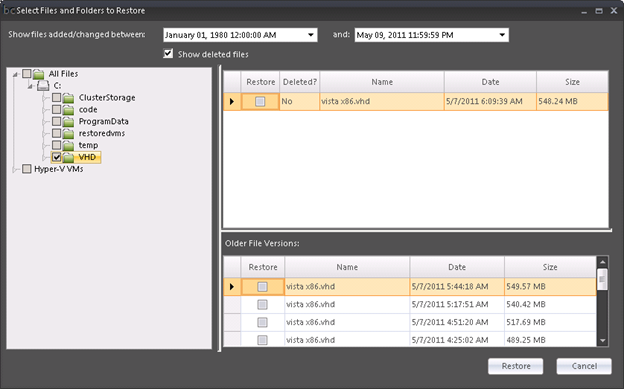
Either select the entire folder or select a single file. To select older versions of a file, select the file at the top right and a list of older versions may appear at the bottom if older versions exist. To restore an old version of a VHD, VHDX, or VMDK file, simply select it from the bottom list. Only select one old version at a time.
Our example above selected the entire C:\VHD folder, so the latest version of all containing files will be restored depending on the date filter at the top of the Restore Screen.
Proceed with Restore and enter a target folder.
After the files are restored, use the New Virtual Machine wizard of your virtualization platform (Hyper-V, VMware, VirtualBox, etc.) to create a new VM with similar settings and attach the VHD file to it.
VMware users: In the case of VMware, you may connect the configuration file back into the management screen by importing the VMX file. Ensure .lck folders are not restored, if they were restored you can delete them.
In our example, we'll use the Hyper-V wizard to create a similar VM and point it to the VHD we restored:
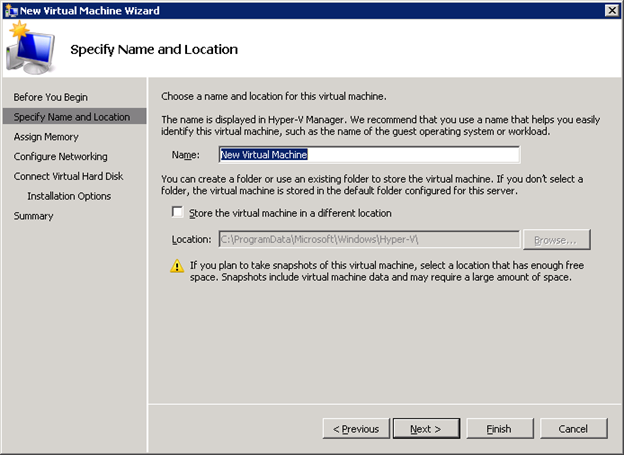
We now add all the settings, point to the restored VHD file, and start the machine.
The process is identical for VMware, VirtualBox, and other virtualization platforms.
Download a fully functional 20 day trial of BackupChain from our download page